DIY Easy At-Home Germ Test
Share
I encourage everyone to save their own seed, whether you have a small garden or a commercial operation, saving seed from your plants takes you one step closer to being a self-sufficient and resilient human being. It also helps save varieties that are bio-regionally adapted to live or survive certain niches/micro-climates or saving your own seed from a rare variety or heirloom.
SEED SAVING IS AWESOME!!!
Now that you have grown your own food, gave food to pollinators, have matured plants/fruits, and you’ve harvested those special seeds….how do you know the quality of the seed? How many of those seeds will produce plants next year?
You want to do a germination test, or germ test, to figure out what percentage of your seed will grow to make plants next season. Here is an easy home method to gauge just that question.
There are many ways to get a germination rate or germ rate, including sending your seed to a seed germ lab, which is a laboratory that conducts many types of test for seed from GMO testing to germ testing. These labs have a large array of scientific equipment at their disposal. A seed sample of at least 400 seeds is their requirement.
This home method can be done with minimal supplies. You will need:
- Brown paper towels…get recycled non chlorinated towels b/c chlorine is BAD for seeds.
- Water…I like my pump spray bottle (shown in picture)
- 100 seeds of the variety you are testing
- Clear jar with a sprouting lid or lid that allows ventilation
Start with 4 moist paper towels. Folded each in half, making them thicker to hold moisture.

Count 100 seeds of the variety you wish to test. Place 25 seeds (or whatever seems to work best for you) on each towel with space between each seed.

Roll up these paper towels to give each seed contact with the moist towel.

Wrap these in another moist towel to retain moisture.

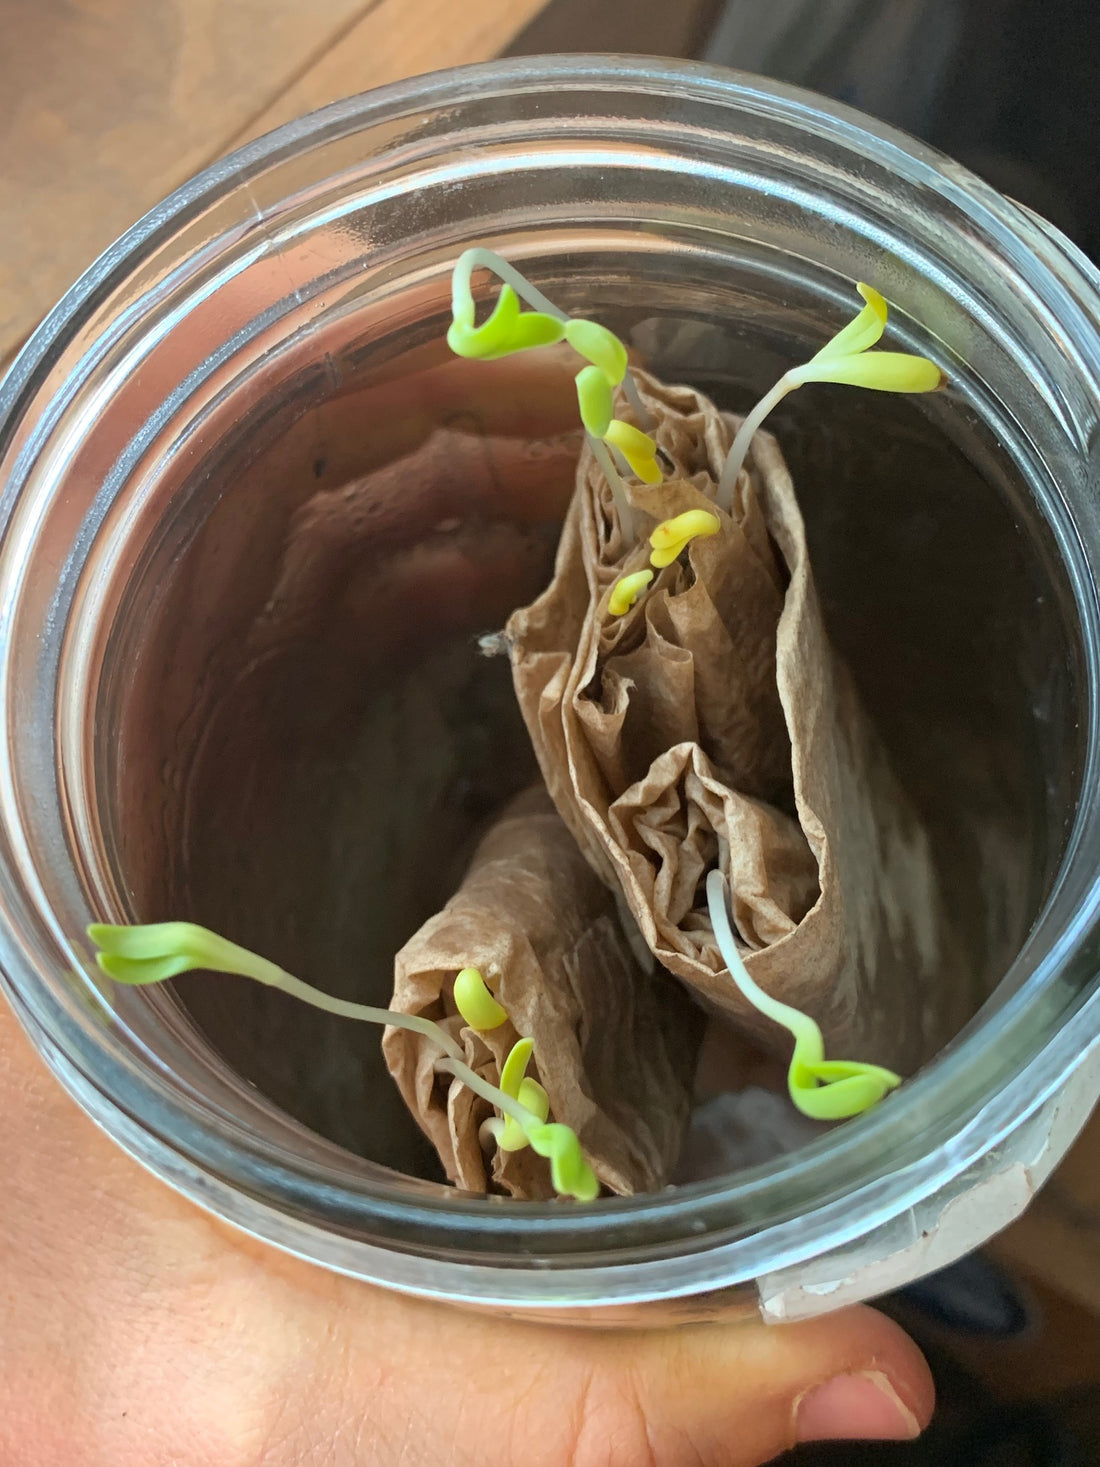
Place your towel bundles in a mason jar with a sprouting lid. Label the jar with seed variety and start date. Most seeds prefer temps from 65-80 degrees F.

For most seeds, keep these towels moist continuously, spraying often for at least 5-10 days.
Some seeds may need to tested for 14-28 days.

Please note some seeds perfer to be on the drier side in cool temps like spinach. The Seed Garden, The Art and Practice of Seed Saving (published by the Seed Savers Exchange and edited by Lee Buttala and Shanyn Siegel), is an amazing book which details about 60 species and their preferences with home germ tests along with Federal Seed Act requirements. If you want to get more specialized with selling these seeds, this is a great reference.
You will start to notice baby plants growing out of your towels!

The germ test is finished at day 14. (This is a long time for calendula, meanwhile my seeds seem to have a higher dormacny rate than other calendulas). At this time, you can un-roll your towels. Count the number of sprouts ONLY if you can see both codaledents (first leaves) and roots. If sprouts look deformed or moldy don’t count them either. Some seeds may not have sprouted due to being dormant, hard seed, or dead seed.


If you started with exactly 100 seeds, the number of sprouts counted represents your germination rate. This Calendula resina germ test resulted in 64 sprouts out of 100 seeds, meaning our germ rate for this Calendula is 64%. This is a low germ rate I know, a good deal of the unsprouted seeds are dormant.
I also sent a sample of 400 seeds to the seed lab I use for professional tests. This lab will do a ‘TZ test’ which checks for dormancy on the unsprouted seeds. TZ turns the seed blue if it is alive. By counting the blue seeds, this test will prove how many of these seeds would have sprouted given the time needed for them to sprout.
I hope y’all enjoyed this write up we did with the pictures to help. Please let me know how we did. Thank you and y’all be safe and warm this winter.